
Live experiences are a powerful way to connect more deeply with your community. With Arena, it’s easy to create new digital experiences quickly. Like any good story, there is a beginning, middle, and end to managing a live experience. We’ll guide you through each step, but first, there is an important question we need to answer.
Why Offer Live Experiences At All?
Creating an engaging live experience for your audience takes effort and resources. You might have experience running the occasional event or traditional digital marketing campaigns. There are a few reasons why offering live experiences to your audience is valuable.
1) Get Faster, Better Feedback From Your Audience
Without consistent feedback from your audience, it’s difficult to know if your marketing and experiences are working. Sure, tracking traditional metrics like conversions and engagement levels is helpful. It’s even better to get live feedback!
Just imagine if you could show a product mockup to customers during a virtual event – that would give you far richer feedback than measuring the number of clicks on a page.
2) Thrive In The Post-Cookie Online World
Digital marketers and audience builders can’t rely on traditional cookies to understand audience behavior and interests. The solution, in brief, is to build a direct relationship with your audience (i.e., first-party data). For more insight on this change, see our post: The Future of Cookies In Marketing Strategy.
When your brand offers appealing social events using live chat, it becomes far easier to gather first-party data. That rich data is the foundation of success in the 2020s and beyond.
3) Deepen Audience Relationships
The final reason why offering live experiences matters comes down to relationships. Think back to the last conference you attended, like SaaStr Annual. You probably met lots of people, discovered new insights, and felt positive about the event. You can capture some of that event magic with engaging online experiences. By regularly running engaging live events, your audience will start to see your online presence as a community rather than simply a website.
Now that you see why it’s vital to provide live experiences to your audience, let’s start the planning process.
The Beginning Of Your Live Experience: Set Up Your Chat In Arena
Now you are ready to build your live chat experience in Arena. Use the following steps to set up and customize your live chat experience.
Step 1: Log in to your Arena account
Step 2: Click on Live Chat in the Arena dashboard.
Step 3: Click create a new chatroom.
Step 4: Name your chat (e.g., “Annual Launch Event”)
The chat name you select is for internal use only – chat participants will not be able to see this name.
Step 5: Select your chat status
There are two options: live and closed. The live option launches your chat session immediately and makes it available to everyone. On the other hand, if you want to be the only one who can post messages, choose closed.
Assuming you are planning a live experience for a future time, the closed status option is best. That means you can further customize the settings to your liking before making the live chat available to your audience.
Step 6: Choose your live chat settings
Arena gives you various ways to manage the experience depending on your needs. The list below includes some of the most significant options to keep in mind:
- Language: choose the language your participants want to use.
- Keep Chat Open: turn this option to make sure your chat is seen by the user.
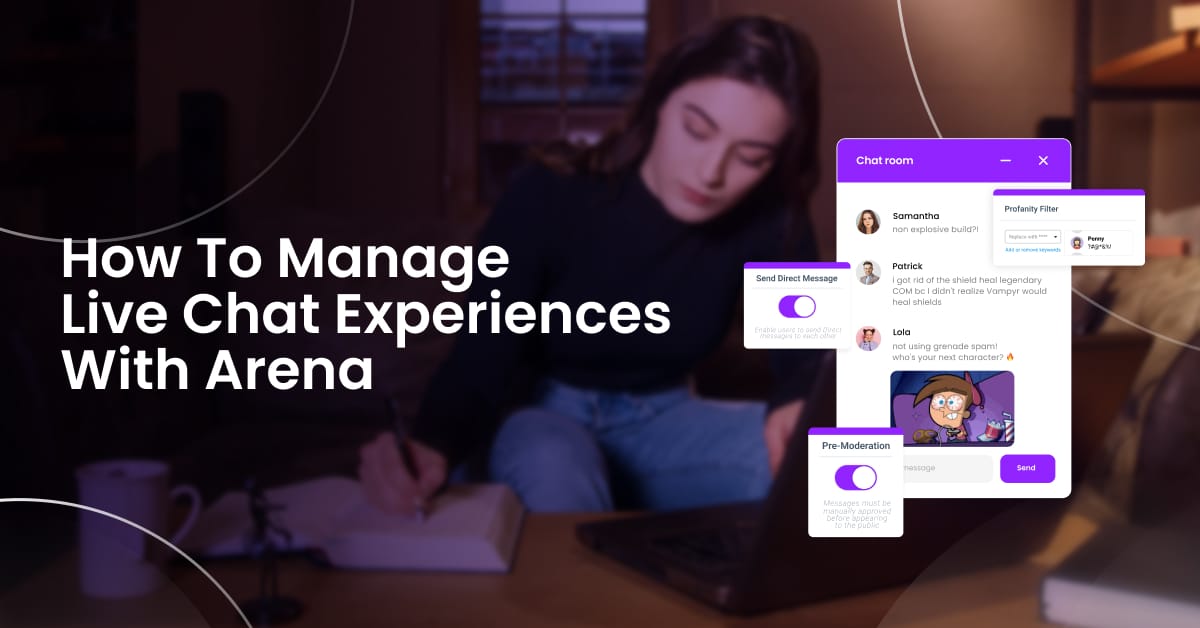
- Send direct messages: enabling this feature lets users send private messages to each other. It can be a helpful way to foster networking.
- Pre-moderation: using this feature means that your team must approve messages before they approve. While it places more of a burden on your team, pre-moderation is a powerful way to support brand safety.
- Sign-Up Options: you can choose Not Required (i.e., anybody can join), Sign Up Required (i.e., adds a minor speed bump to participation), or Single Sign On. The sign up option lets users enter an email address or use another credential (i.e. Facebook, Twitter or Google).
- Allow Slow Mode. In a live experience, you might have hundreds of participants and it’s easy to become overwhelmed when many people start posting messages. The slow mode lets you impose a delay between how often people can post messages (e.g. 10 seconds between messages). This mode is a helpful way to discourage harmful and distracting chat activity. If you use this mode, take a moment to explain it to your users at the start of the session.
- Allow Sharing Links: Choose whether you want to let participants share links. If you take other measures like requiring a sign-up or pre-moderation, allowing links is less risky.
- Profanity Filter: we recommend turning this feature on to maximize brand safety and avoid upsetting participants.
Navigating all of these options might take a few minutes the first time you use it. By the second or third time, you’ll a feel for which options are best suited to your audience.
Once you have completed all of the settings to your liking, click the Create button at the bottom of the screen.
Step 7: Choose your Embed option
The embed option controls how Arena Live Chat appears on your website. There are a few options here: In-Page, Bottom, Side and Overlay. If you’re not sure which option to choose, we recommend overlay.
When ready, click the “Copy” button at the bottom of this screen. This will generate a short piece of code for your website. To launch the live chat, this code needs to be added to your website. The specific steps vary depending on the type of website you have. For additional support, see our help guide: Adding Arena to your site.
Step 8: Refresh your website and look for the live chat!
If you selected the live option in step 4, your live chat window will appear right away!
By the way, don’t worry about getting everything perfect the first time – you can go back and make updates whenever you want.
How To Run A Live Experience Like A Pro
In our three-part story concept, running the live experience is the critical “middle” part of the story. Use the following tips to ensure your live chat experience runs smoothly.
Get Your Two Person Team Ready
It is usually wise to have at least two people involved in your live chat experience: an event host and a support person. The event host will focus on the conversation while the support person can address technical issues.
Have Your Scripts and Notes Available
When you run a live experience, you’re effectively on stage! It’s perfectly normal to have a bit of stage fright at first. One of the best ways to reduce anxiety is to prepare notes in advance and have them ready. Use our X resource to prepare your live experience script.
Join The Live Chat Early
Let’s say that your live event will run from 4 pm to 5 pm. It’s best to let people enter the virtual chat room at least 5 minutes before the event starts. Your staff should join early as well. Joining early means you can address technical questions quickly.
Explain Your Ground Rules
While optional, we recommend taking a minute or two to explain your ground rules for the live experience. This is especially important if you are using features like pre-moderation or profanity filters. Taking a moment to explain that you are offering a safe experience and that you will not tolerate abusive behavior will help to discourage disruptions.
Stick The Landing: Tips To End Your Live Experience Effectively
As your live chat experience comes to a close, schedule some time with your event team to explore the event. This is a critical continuous improvement discipline that ensures your live experiences will keep getting better over time. Use the following tips to run your post-live experience session with your team.
Recognize Successes
Kick off your post-chat review by celebrating what went well. For example, did you achieve a new milestone like 100 or 500 chat participants? Take a moment to praise your team for these developments.
What Worked Well?
Continuing on the positive theme, make a list of the practices that went well. For example, you might add three support people to keep a large event on track. Record these best practices and make sure you keep using them.
Gather “Stop Doing” Suggestions
Now, ask your team what you should stop doing or change for the future. To avoid blame and finger-pointing, emphasize changes that can be made for the future.
Review The Live Chat Log
Finally, review the live chat log. In particular, look at questions directed to your company. If there are repeated questions like “why aren’t all of my questions appearing?” you may need to better explain your moderation practices.
Start Your Live Chat Experience This Week
Offering a live chat experience takes creativity and a team effort. Fortunately, the Arena Live Chat solution is simple and fast to install. On average, users take less than 15 minutes to install Arena on their website. Learn more about Arena Live Chat!